Quick Start
Basejump is a starter-kit for launching SaaS apps on Supabase using Nextjs. It provides sensible defaults, a dashboard and account management functionality.
Most Supabase guides focus on how easy it is to get started. Very few talk about best practices for how to build sustainable projects.
If you want to spin up a supabase project and write manual SQL into their interfaces, you can. But the directions here are more for setting up a dev environment.
Starting a new project
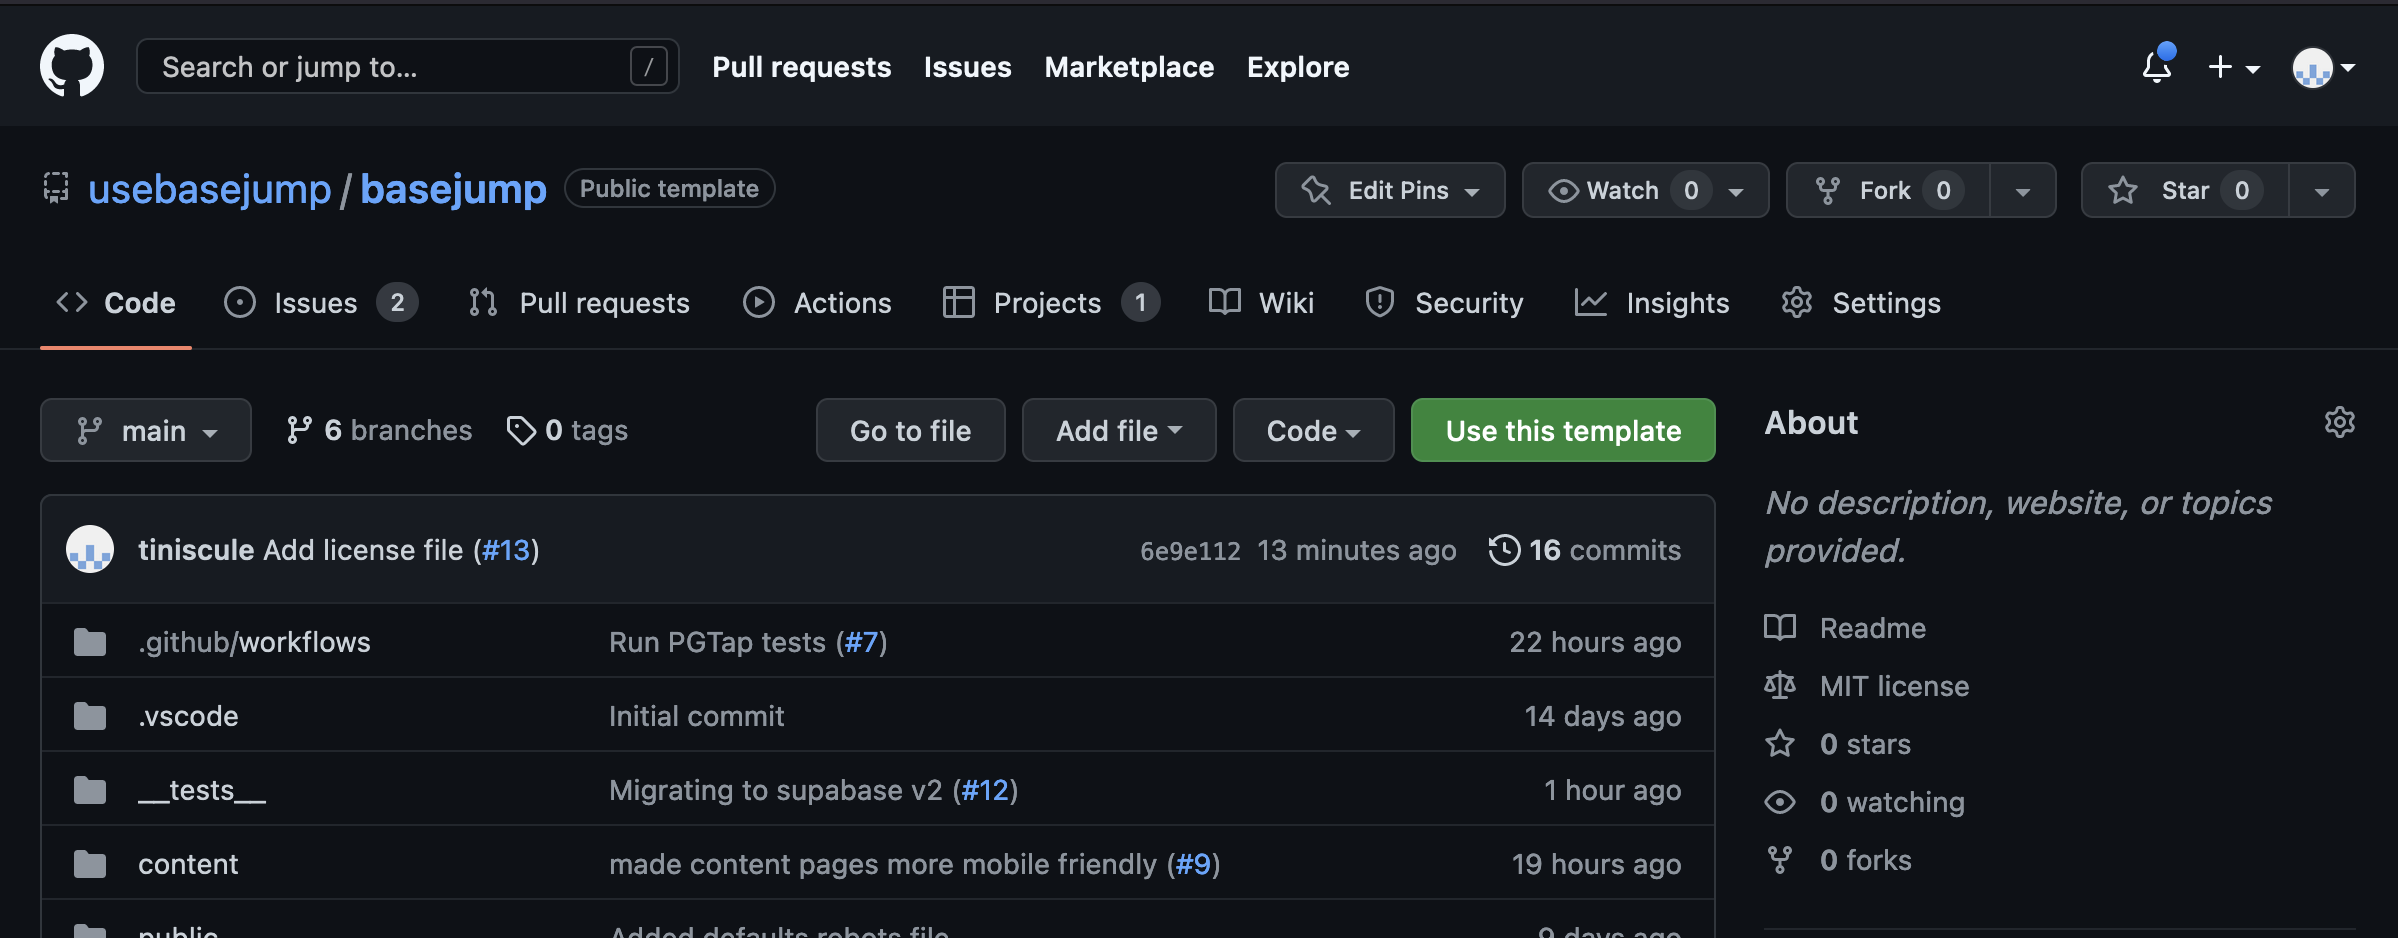
To launch a new project, we recommend that you clone the Basejump starter on Github.

Launching Supabase locally for development
Basejump uses Supabase for authentication, database and storage. To get started, you'll need to launch a local instance of Supabase. You can learn how to install the CLI tool here.
Once installed, you can launch a local instance of Supabase by running:
supabase start
This will launch a local instance of Supabase and run migrations located in /supabase/migrations.
Setup the required environment variables
The Supabase start script will pump out some access variables at the end. Copy those into your environment file.
Started supabase local development setup.

         API URL: http://localhost:54321 // this is your NEXT_PUBLIC_SUPABASE_URL
          DB URL: postgresql://postgres:postgres@localhost:54322/postgres
      Studio URL: http://localhost:54323
    Inbucket URL: http://localhost:54324
        anon key: <your-anon-key> // this is your NEXT_PUBLIC_SUPABASE_ANON_KEY
service_role key: <your-service-key> // this is your SUPABASE_SERVICE_ROLE_KEY
If you plan on leveraging Stripe for billing, you'll also need to copy in a few Stripe variables. It's not needed for local development, however. You can learn more on the dedicated environment variables page.
Install dependencies and launch the app
Now you're ready to install the dependencies and launch the app. Once it's live, you can access it at http://localhost:3000
yarn install
yarn dev
or
npm install
npm run dev
Your app is now available at http://localhost:3000